How To Set Up Your Scuba Diving Gear

Setting up your scuba diving gear properly is one of the most important skills you need to learn in scuba diving. It requires special attention and care to prevent equipment problems during the dive. Whilst it may seem cumbersome especially for beginner divers, constant practice and getting the right knowledge will help you get used to it. Here’s a step by step guide on how to set up your scuba diving gear.
Scuba Diving Gear Setup Step-By-Step Guide
It’s a common scenario to arrive at a dive site or arrive at a refresher class and people have their tanks around the wrong way - their regulator's upside down, BCD tank bands hanging loose. To avoid this, we're going to run through the steps of how to set up your dive equipment:
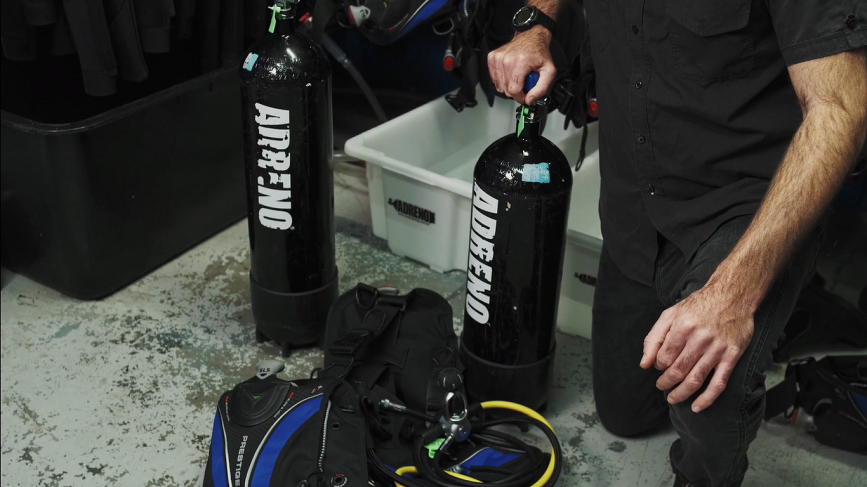
Step 1: Inspect your cylinder.
The first step is to make sure your cylinder is full. This step is very important because the last thing you want is to arrive at the dive site with no air. Check the visual inspection sticker and the hydrostatic test date. Make sure that the O-ring is in there and in great condition. Next, locate the height of your BCD and your cam band to hold your tank to your BCD.
Step 2: Attach the cylinder to the BCD.
Grab the BCD at the BCD handle. Put the safety strap away and then place the BCD over the cylinder properly. Setup the BCD and tank height according to your preference. The height should roughly be a tank valve with the top of the BCD. Once you have that set, now we can go about tensioning the cam band. Don't ever undo the cam band otherwise, you're going to find a divemaster and instructor trying to rethread this on a rocking boat, which can be pretty frustrating.
You should find that your cam band is ready for tension. So using one arm, putting tension on the cylinder, you should be able to lever your cam band. Once you have some tension on the cam band, run through the top notch of the buckle, and then you should feel enough tension that you can't move it. Once your cam band is secured, you can try a bit of pressure testing to see if your cylinder is not going to fall out.
When the BCD has been used a number of times, the nylon expands a fair bit. If you use enough tension, your cylinder is not going to fall out. If it does get loose during a dive, make sure your diving buddy is there to help you out.
An important factor when it comes to setting up your BCD is leaving your weights in. If your weights are in your integrated pockets on your BCD, your BCD will be sitting low and you won't get a good purchase on your cam band. That is where cam bands often get loose. If you are on your second dive, make sure that your integrated weights have been removed.
Step 3: Attach the regulator.
Once the cam band is tightly secured and your BCD is now level with the valve. In attaching a yoke-style regulator to a “K” cylinder valve, first, you need to make sure that the regulators are on your right side. Remove the dust cap and slide it down onto the regulators.
On the back of the valve, there is a small dimple, which the yoke screw will screw directly onto. The screw should only be tightened finger-tight. Otherwise, you will have a really hard time undoing it.
If your regulator is not a yoke-style, it has a thread known as DIN (depending on which part of the world will depend on how common this is). In Australia, it is very common to see a yoke regulator, but throughout America and Europe, it’s more common to see a DIN regulator.
If you have a DIN, you may need to call ahead and tell the dive store that you need a DIN cylinder. In which case, you're going to need an Allen key to remove the insert. Generally, an 8mm Allen key is worth keeping in your spares kit if you own DIN regulators. Using the same steps as a yoke-style regulator, put the regulator on the right-hand side and then simply thread in and pressurise. And that is the only difference between a DIN and a yoke.
Step 4: Open the cylinder.
The pressure of the cylinder, the air coming out of the valve will do the rest. Attach your low-pressure inflater and secure it so that things aren't flying loose. Now you are ready to pressurise. Keep your face away from the valve.
When you turn this on and keep your face away from anything that could come loose, any high pressure coming out of your gauge or from your regulator, and then gradually and slowly turn your valve on until you get pressure into the lines. Once it's on, we can now turn our valve all the way open.
Step 5: Test the scuba unit.
In testing the scuba unit, make sure the valve knob is opened. Test the position of your valve. See if it is correct and check if your air is on. Listen carefully for any air leaks near the valve. A hissing sound may indicate a worn or cracked o-ring. This should be replaced before diving.
Next, check your dive computer. It may be a wrist computer or a console. What you need to secure is that number one, the battery is full. Number two, make sure that you are in the correct dive mode to proceed with your dive. Don't just trust that it's going to turn on while you're in the water.
Once done, the next thing you want to do is test your BCD. Put some air into your BCD to check if is inflated without any leaks. Any leak can lead to emergencies on the surface. Buoyancy at the surface is very important so make sure that everything is functioning correctly.
Depending on where you're diving, you may be required to wait for a little bit, in which case, it's a good idea to turn your air off if you're going to be away from your equipment. You may need to lie your equipment down before your dive. When all is set up, gently place your dive gear on its side and pack it nicely as compact as possible so that nothing can land on it. Or you may be required to put it into a tank rack. Whatever it is, make sure that the valve goes back on afterwards.